Explore Enscape's
core features

Real-time visualization that’s simple to grasp and will speed up your design workflow.

Real-time walkthrough

The real-time technology visualizes your project as a fully rendered 3D walkthrough that can be navigated and explored from every angle. You can follow every update to your plan instantly thanks to the bi-directional geometry exchange between your CAD or BIM program and the renderer. Use NVIDIA Deep Learning Super Sampling support to improve performance in walkthroughs.

Virtual reality

Explore your design in the compelling realism of virtual reality. Connect a VR headset like the Oculus Rift S or HTC Vive and get ready to walk or fly through your project. You won’t believe the extraordinary experience it will evoke.

NVIDIA Denoiser

Boost the quality of your walkthroughs and capture exports with the advanced denoising solution powered by NVIDIA ReLAX denoiser. Enjoy sharpness and clarity in enclosed interior spaces with minimal direct light, particularly on glossy or metallic surfaces.


V-Ray scene exporter

Transfer key data from Enscape to V-Ray and other design applications, including 3ds Max and Cinema 4D with .vrscene files. From early design to final production, avoid duplication of work and collaborate better with project stakeholders.

Chaos AI Enhancer

This new experimental functionality for active users gives you higher realism in image renderings without sacrificing performance. It leverages AI to improve Enscape assets, specifically people and vegetation assets. Simply focus on designing and let AI elevate your visuals.

  • Enjoy enhanced images without post-processing or additional tools
  • Use elevated visualizations to get your design intent across faster

Integrated Graphics Support

Enscape can now be used on Windows computers with Intel and AMD iGPUs (integrated graphics processing units), as it is accessible to more than just computers with separate physical GPUs. This is great if you’re budget-constrained or can’t purchase a machine without a dedicated GPU.

  • Use Enscape while working on-site or while traveling
  • Enjoy a more flexible and cost-effective way of visualizing

WORKFLOW TOOLS

Envision before it’s built

Site context

Ortho views

BIM info

Collaboration

Site context

Eliminate the lengthy processes of modeling topography and importing geometry with the Site Context mode. See what your building will look like on-site and make better decisions with real-world context added.

Collaboration

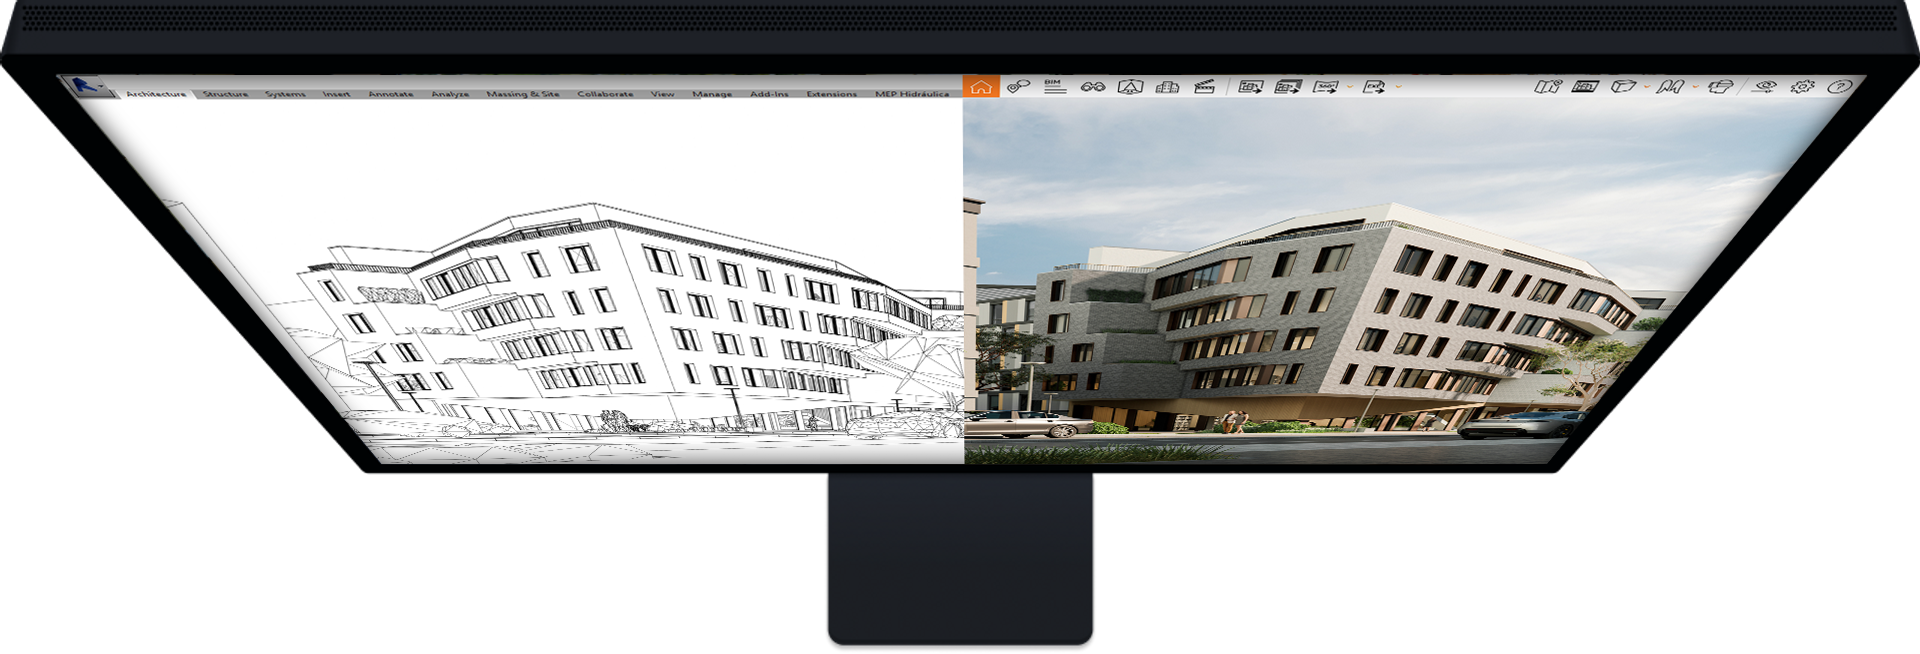
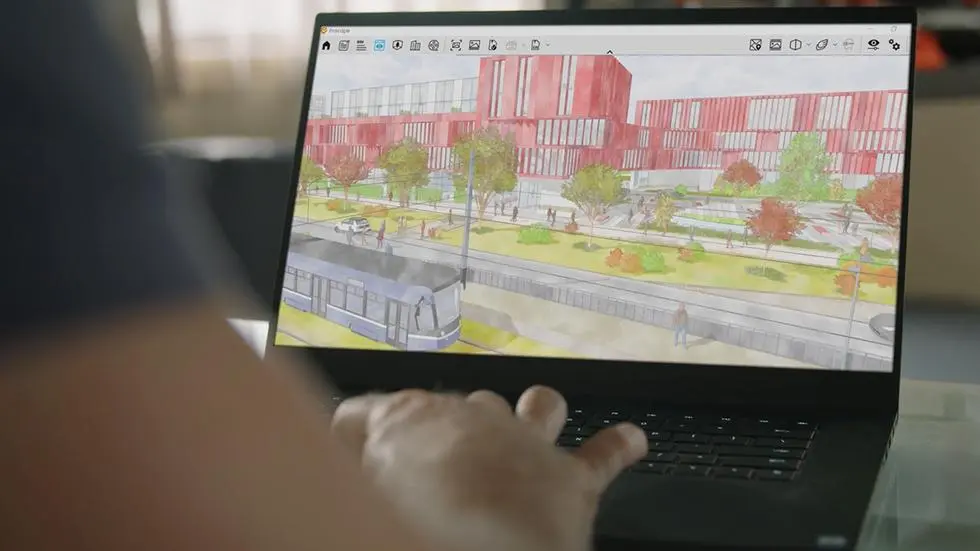
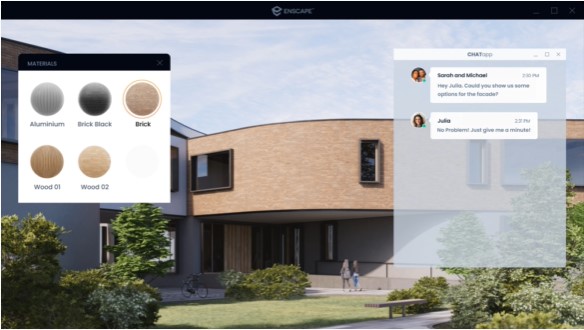
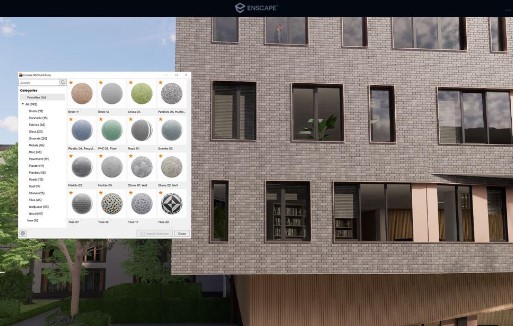
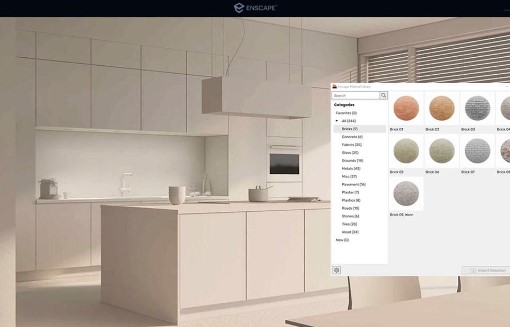
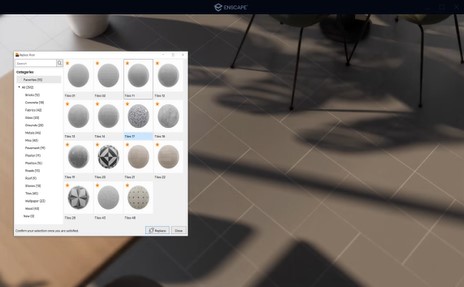
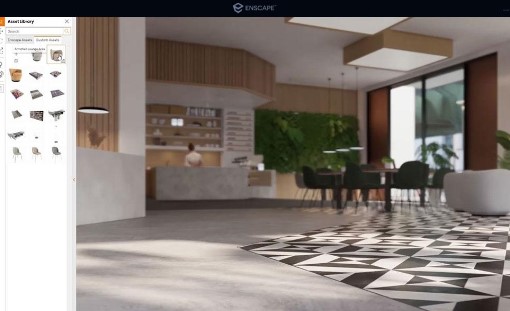
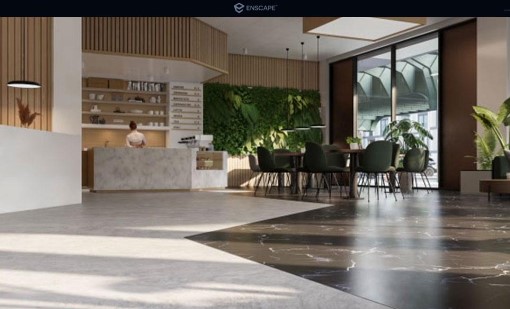
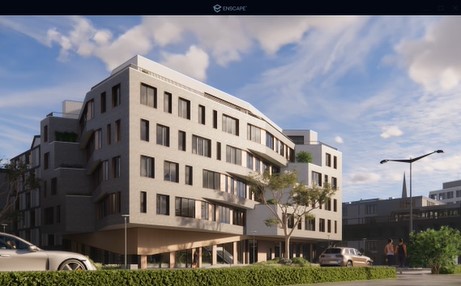
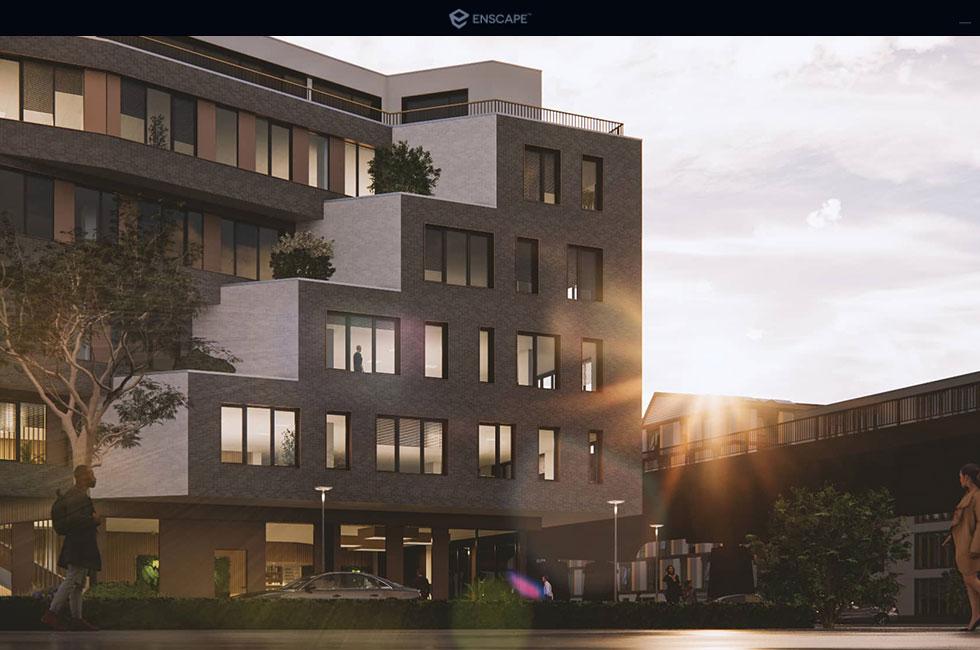
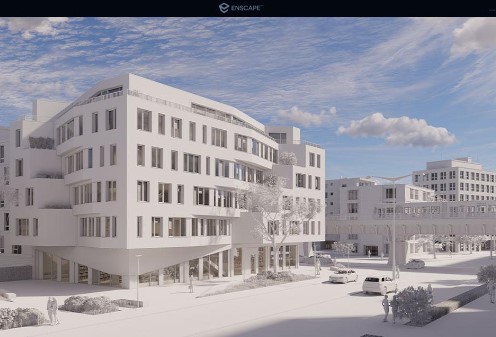
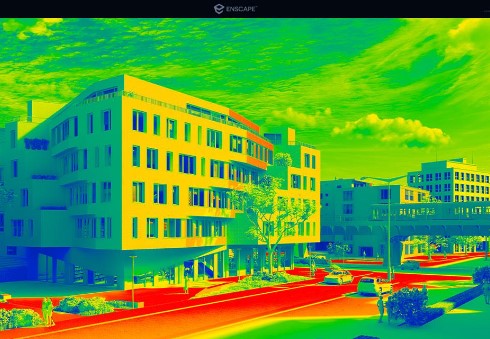
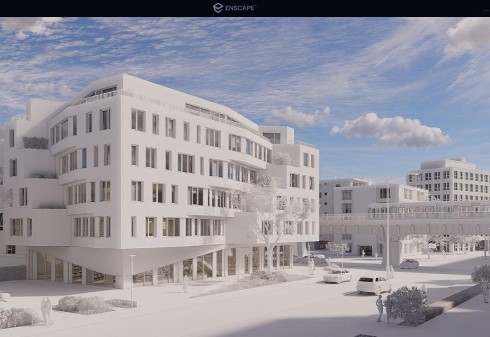
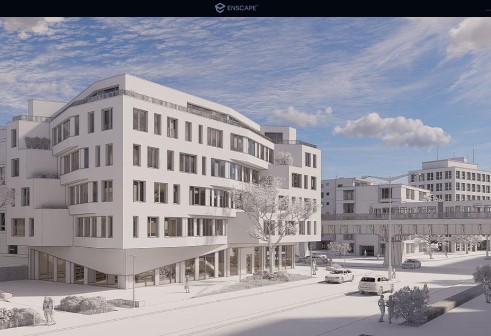
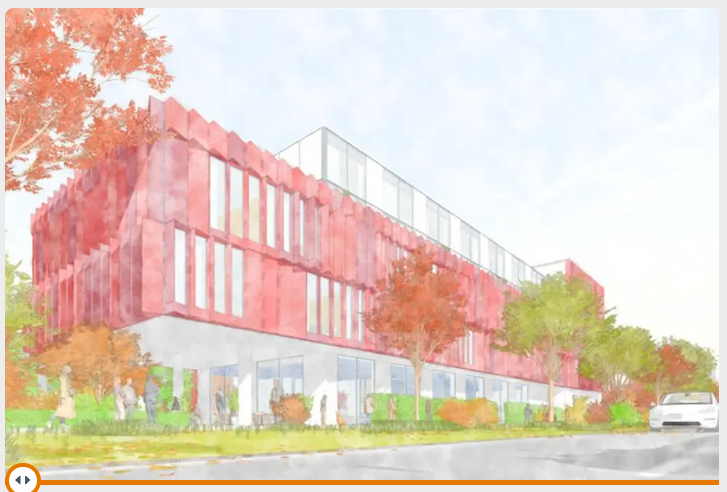
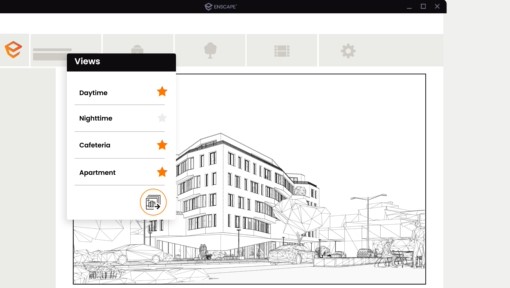
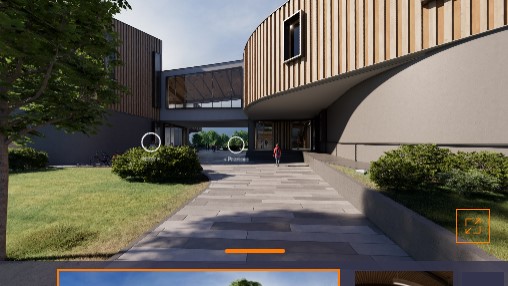
Whether it’s a change request, material suggestion, or problem, highlight issues directly within the project with the new collaborative annotation feature. Share progress, maintain context, and benefit from continuous communication with your team and external members.

Orthographic views

No project is complete without a floor plan or cross-section representation; in many situations, it’s the clearest and simplest way to present the scope size, and intent of your design. One click is enough to create a two-dimensional view out of your three-dimensional project. Switch easily between several flat perspectives to create floor plans or side-view section cuts.

BIM info

BIM mode places all the information you need right at your fingertips. Just click on any single or grouped elements in the Enscape window to immediately display all available BIM data. Or, search for an element in our BIM mode menu and instantly see one or all instances of the object highlighted in the Enscape window.

TEXTURES & MATERIALS

Materialize your ideas

Material library

Material editor

Update materials

Material library

Access more than 392 predefined high-quality materials in the Enscape Material Library. Communicate your design aesthetic and improve the realism of any scene with little effort.


Material editor

Fine-tune materials in the Enscape Material Editor. Make use of height maps and adjust textures to raise the level of realism in your visualizations.

Update materials

Replace existing materials in your current project with materials from the Material Library. Go to the “Replace with Enscape Material” function in the Material Editor.

3D ASSET COLLECTION

Bring scenes to life

Asset library

Asset placement

Custom asset library

Simplified assets

Assets with variants

Assets with color or material customization

Multi-asset editing

Unique assets

Asset library

Our ever-expanding Asset Library will help you to fill your scene with life and make it even more realistic. Browse through just a small selection of our collection, so you can get a feel for the available models. We’re always adding more.

Asset placement

Access the Enscape Asset Library within the rendering window. Pick, place, and edit single or multiple assets into your design scene via the Enscape rendering window. See the changes reflected live in your building model and enjoy this two-way asset placement feature.

Custom asset library

The new Custom Asset Library ensures you can add any and every asset your project requires. Whether it’s meeting individual needs or fulfilling corporate branding standards, you can include bespoke assets in your designs. This expert feature allows you to add special touches and create unique design experiences.

Simplified assets

Use white, low poly assets in early design or when basic asset placeholders to provide context, without any complexity or specificity, are required.

Assets with variants

Choose from multiple versions of the same asset to convey the right story. Have more asset choice and flexibility without library clutter.


Assets with color or material customization

Change the color or material of an asset via a customization panel. Adjust parameters to accentuate or blend assets in scenes.

Multi-asset editing

Quickly modify a group of assets at once: select, de-select, replace, or delete them. Available to all assets in the Enscape asset library.


Unique assets

Enjoy a collection of assets that are exclusive to Enscape. Choose from over 90 unique assets to showcase the function and emotion of a space.


ATMOSPHERE SETTINGS

Set the mood

Clouds

Time of day

Image effects

Volumetric fog

Depth of field

Colored Shadows

Clouds

Get wind of Enscape’s cloud settings: adjust the cloud density and variety to perfect the ambiance and feel of your scene. Depending on your defined parameters, the rendering will appear brighter or darker, and the clouds thicker or thinner. Adjust the time of day to see the clouds travel across the dynamic Enscape sky.

Time of day

Travel through time: simulate lighting situations at different times of the day or check the artificial lighting concept in your building at night. If you want to know the daylight conditions of any city in the world at any specific time: stray from the beaten track and specify a location.

Image effects

The cinematic view and atmosphere of your scene can be regulated by the image settings. Make your rendering look like it was shot using a professional DSLR camera. Adjust the bloom or lens flare intensity to bring to light specific details or brighten up the complete image.


Volumetric fog

Fog gives your scene a sense of depth, by making rays of light more visible; use it to simulate the scattering of dust or a layer of dense fog. The time of day has a direct effect on the color of the fog; at sunset, it will be more intense. Try out some fog to your scene, otherwise, it would be a mist opportunity.


Depth of field

Focus on whatever you want. With this setting, you chose which part of your model stands out. Call attention to specific details and blur others to create a dynamic image.

Colored Shadows

Complement natural lighting with colored shadows for artificial light sources. Add textures to glass material and have the drop shadows reflect the texture patterns without the need to model geometry. Enable the hardware ray-tracing feature to see the intricate details and full impact of colored semi-transparent materials.


COMPOSITION & LIGHTING

Render in different styles

White mode

Light view

Polystyrol mode

Outline

Artistic Visual Modes

White mode

Start with a clean slate: if you want your audience to focus on the architecture rather than materials or colors, switch on White Mode. All colors are set to white, while other parameters like glossiness and bump are maintained to preserve the natural appearance of the scene.

Light view

If you’d like to generate a light analysis of your model, just enable the light view. This option will display how many lux are falling onto each surface. Enable light view and adjust the time of day to see how your model interacts with the light at any given time. Find out if your project turns up the heat or leaves you cold.

Polystyrol mode

Renders all surfaces like a real polystyrol material, whereby the sunlight is scattered through the thinned geometry. When this mode is selected, an additional setting appears named Transmission which determines how much light is transmitted through geometry.

Outline

Emphasize the intensity of geometric forms in your project by using the slider in the visual settings. This can be combined with the view modes to create interesting effects.

Artistic Visual Modes

Create stunning visual effects by simulating pencil or watercolor drawings with artistic visual modes. Remove distractions and focus on the general structure of the model so clients can make decisions faster during the concept stage. Available for screenshots, batch rendering, mono panoramas, and video exports.

EXPORT OPTIONS

Share and collaborate

Video export

Batch export

360° Panorama

Standalone

Alpha channel

QR code

Video export

Create a video walkthrough of your project in no time.

Batch export

Share and group panoramas to curate a better presentation experience. Drag to look around.

360° Panorama

Share and group panoramas to curate a better presentation experience. Drag to look around.

Standalone

Share your work with anyone as a fully rendered executable (.exe) file or web standalone.

Alpha channel

Render an image with a transparent background and add the right backdrop with ease. Save time from post-processing as the reflections and tint of the semi-transparent materials are kept during export.


QR code

Create QR codes for easy scanning and project exploration.